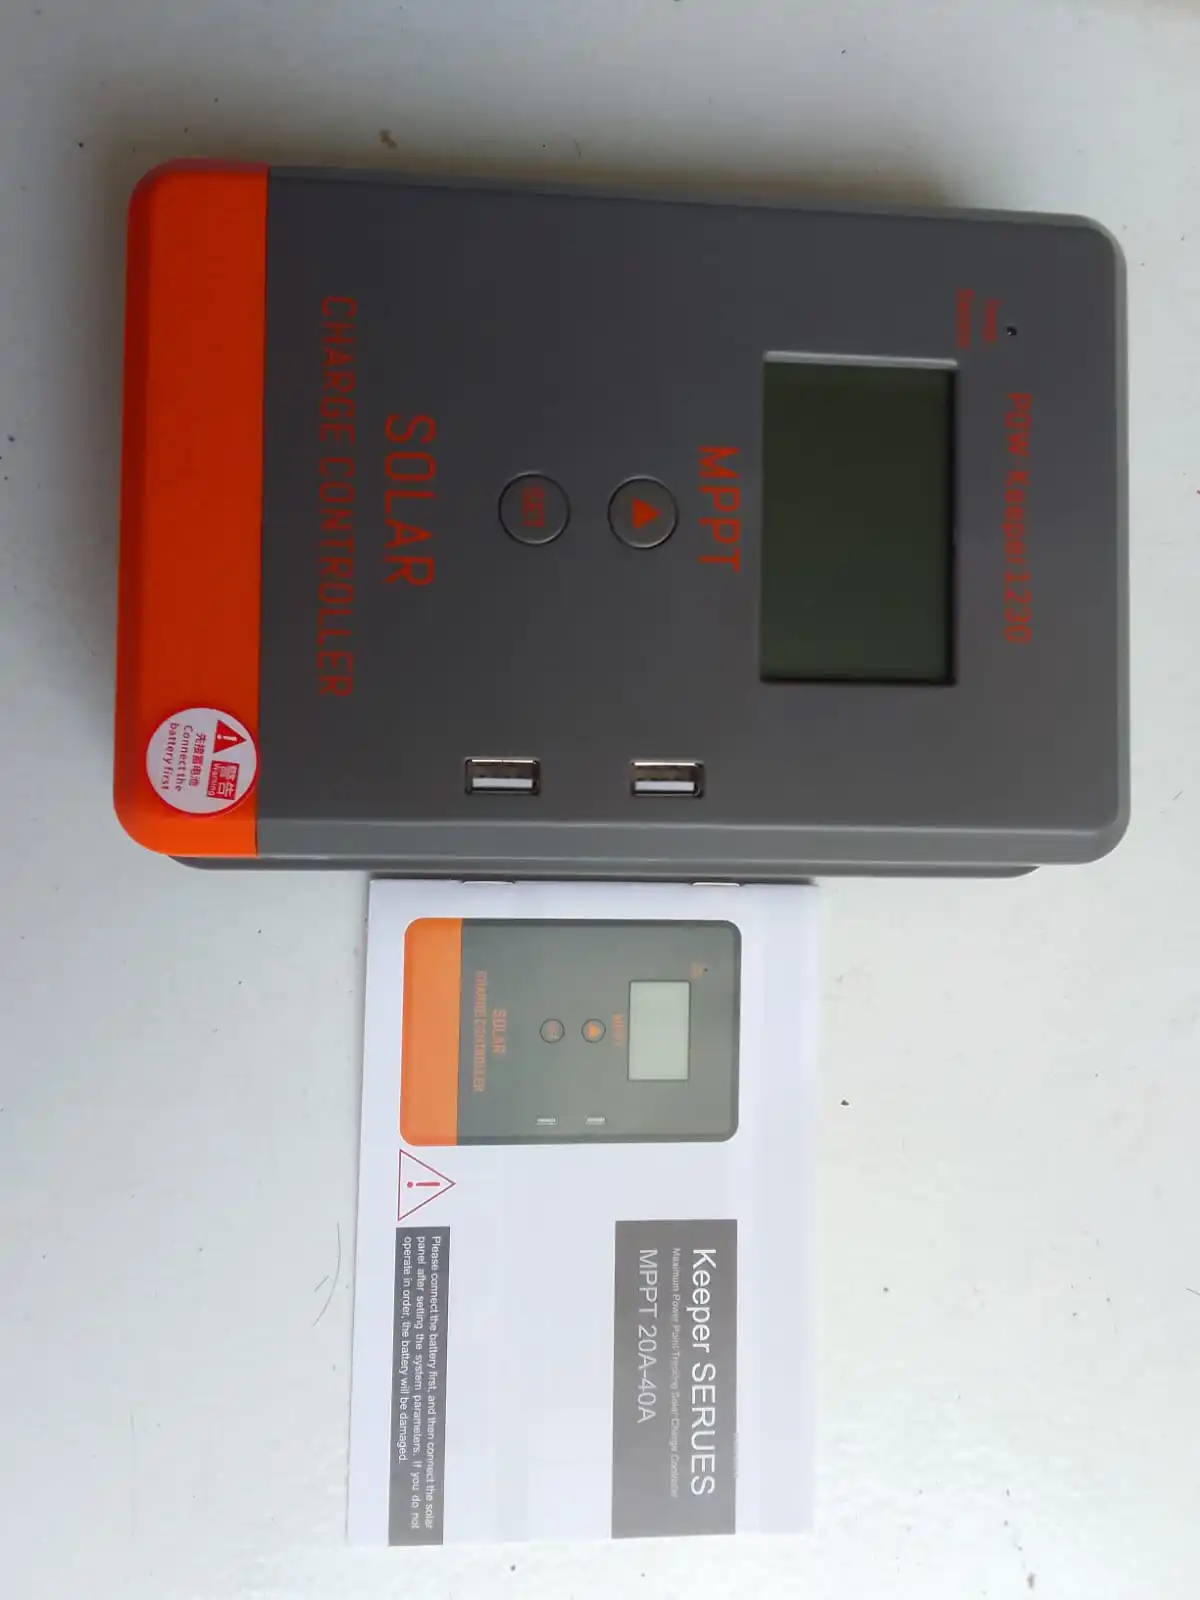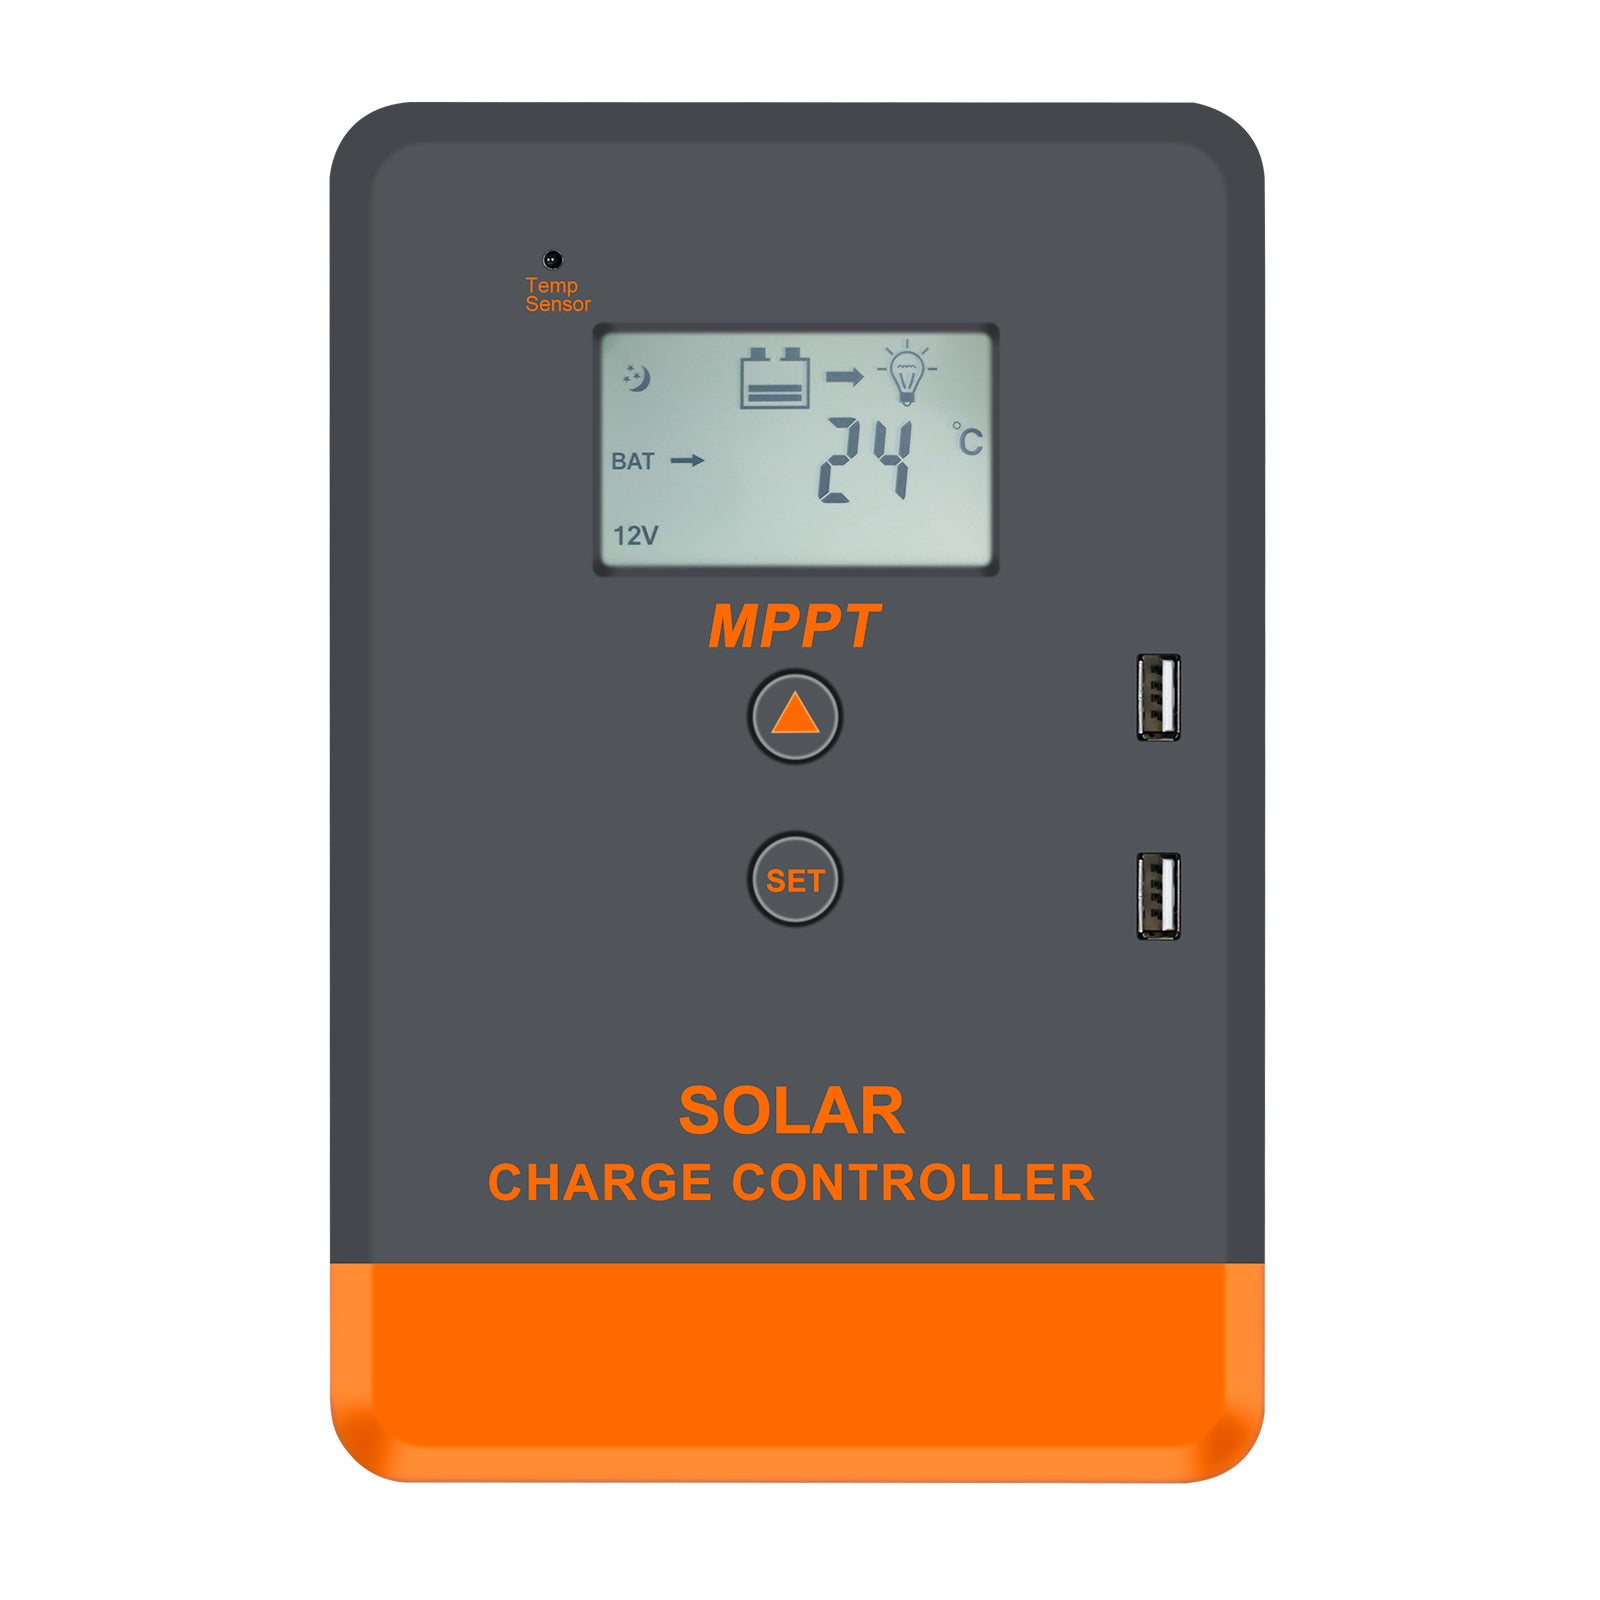
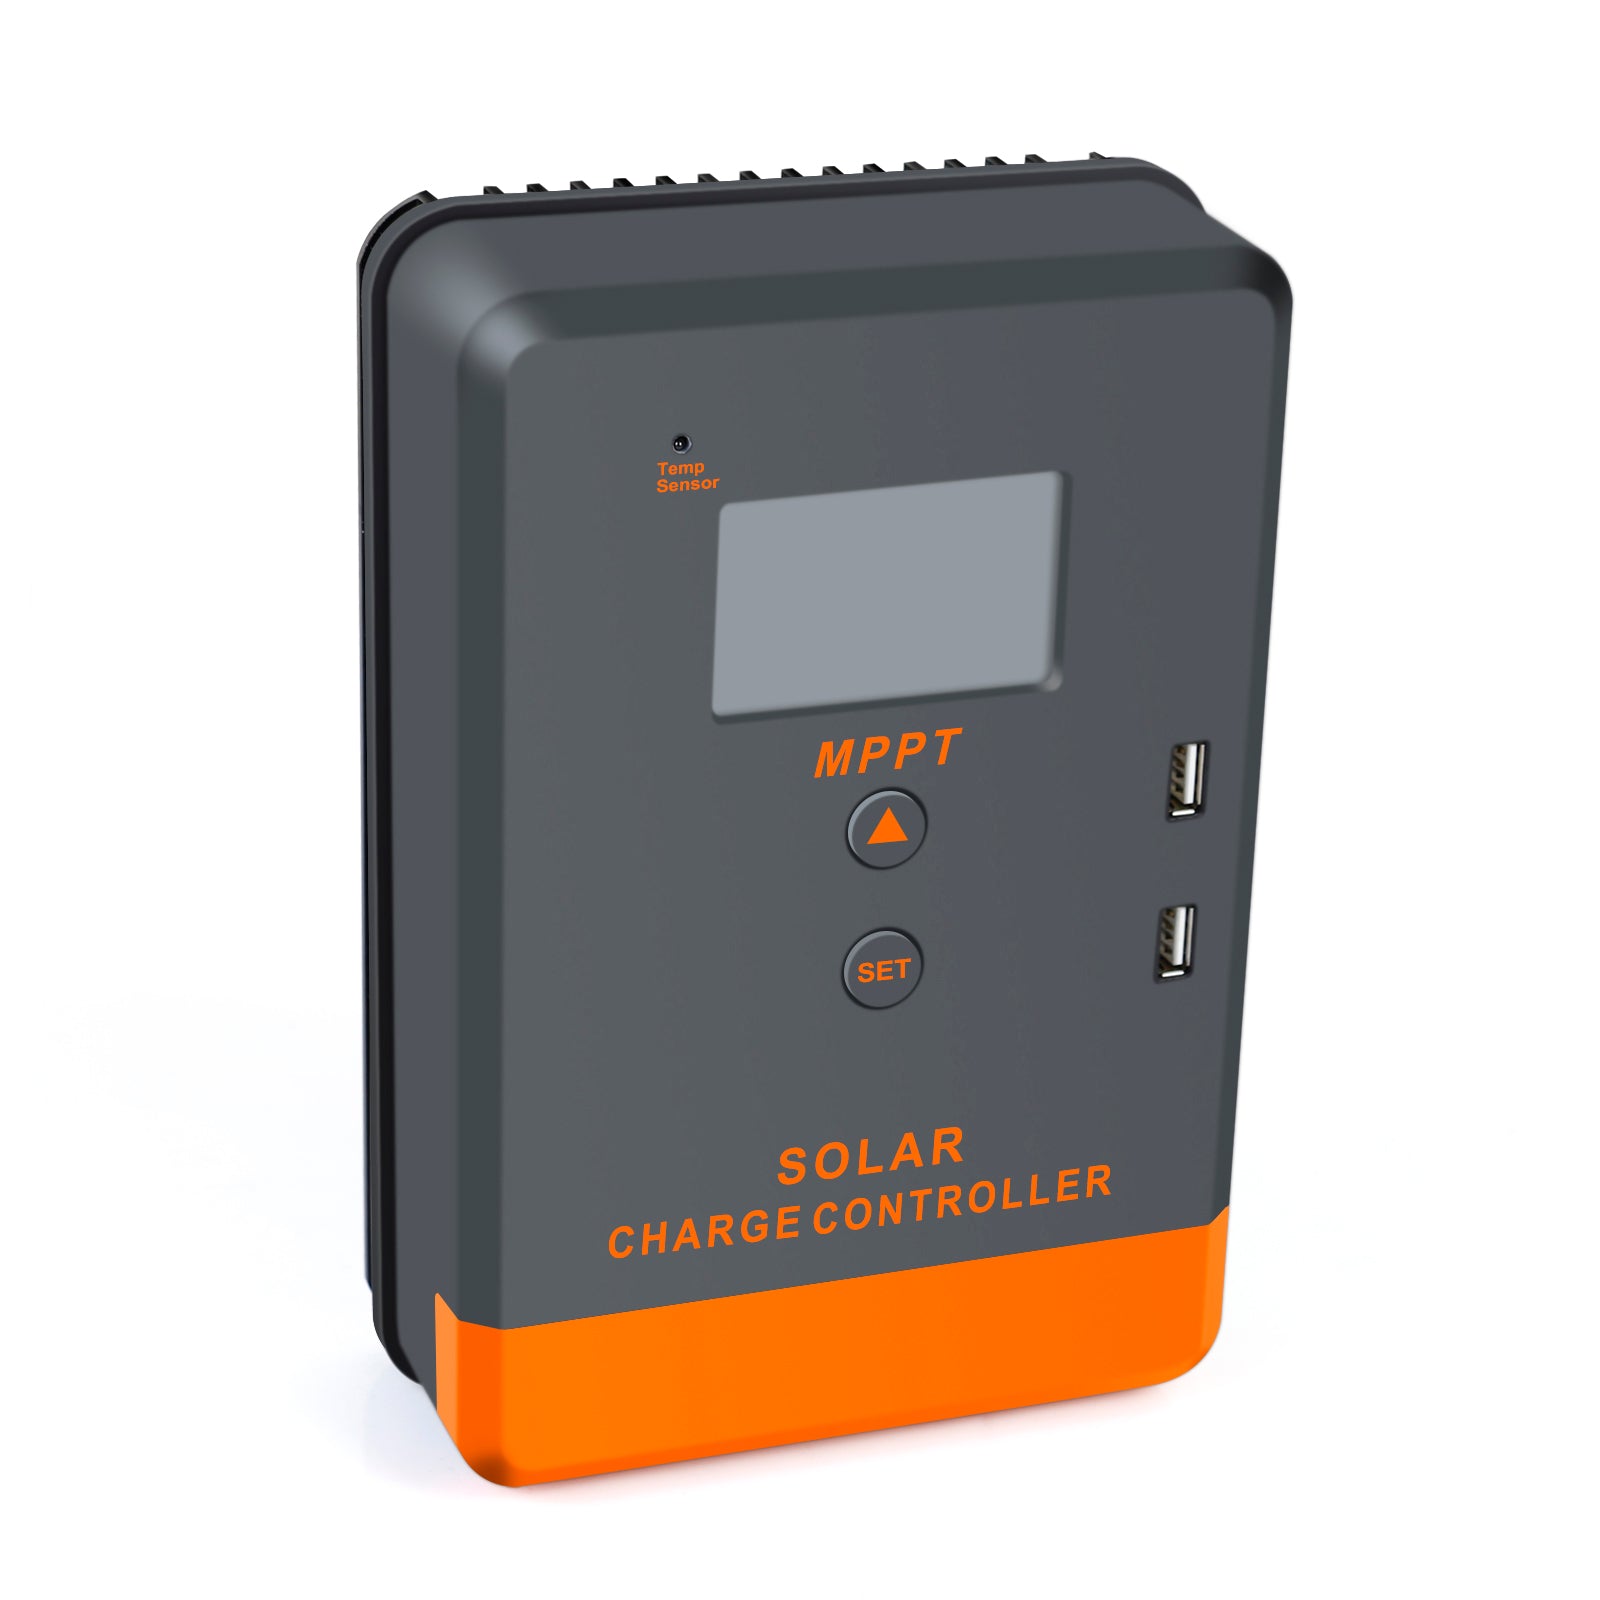
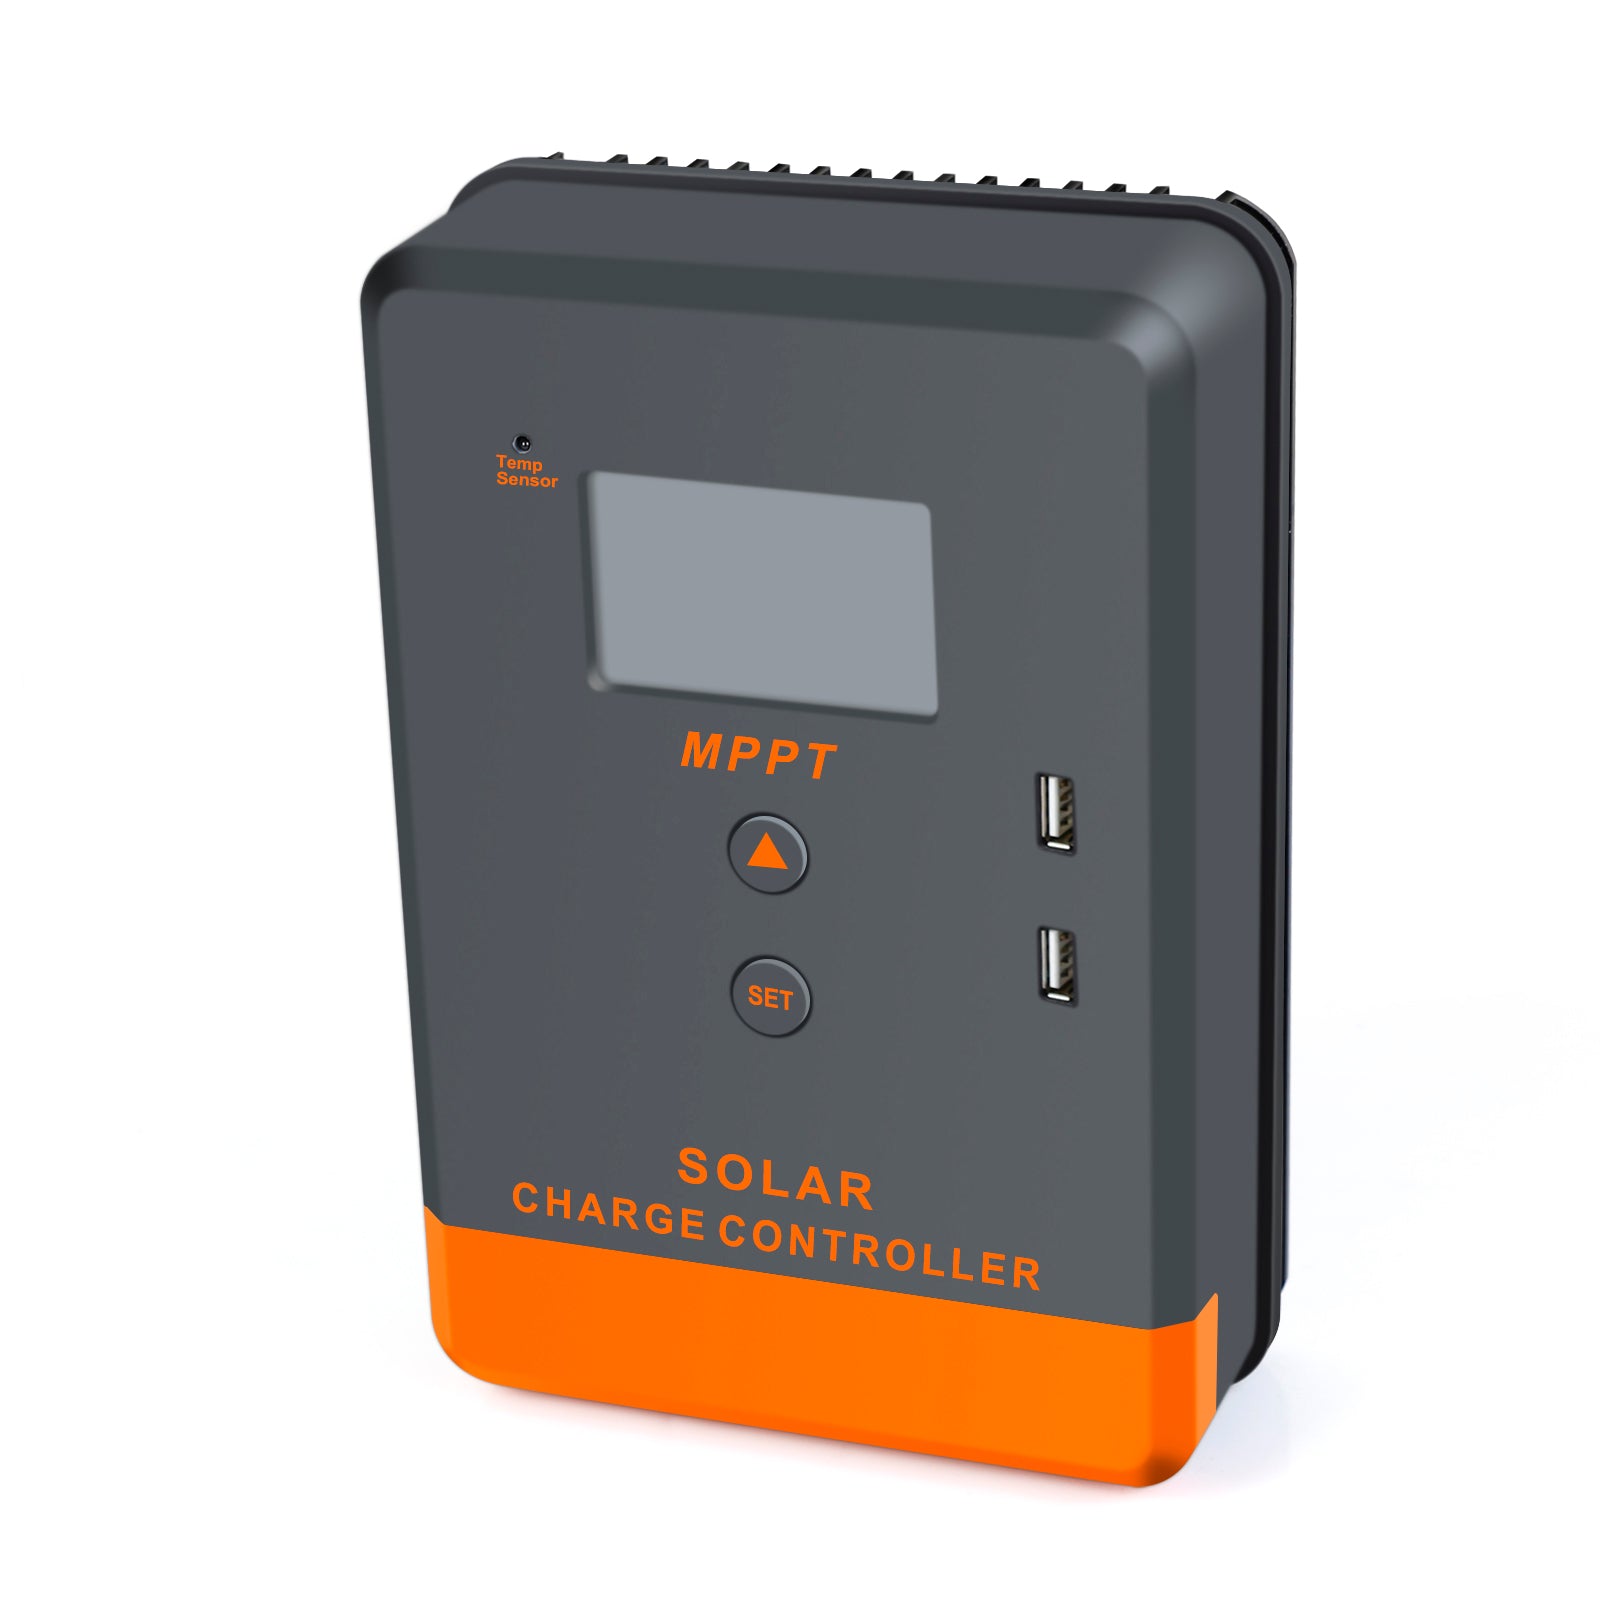

12V/24V Auto 20A MPPT Solar Charge Controller
12V/24V Auto 20A MPPT Solar Charge Controller
Sale price$39.00 USD
Regular price$66.00 USD (/)
Overview
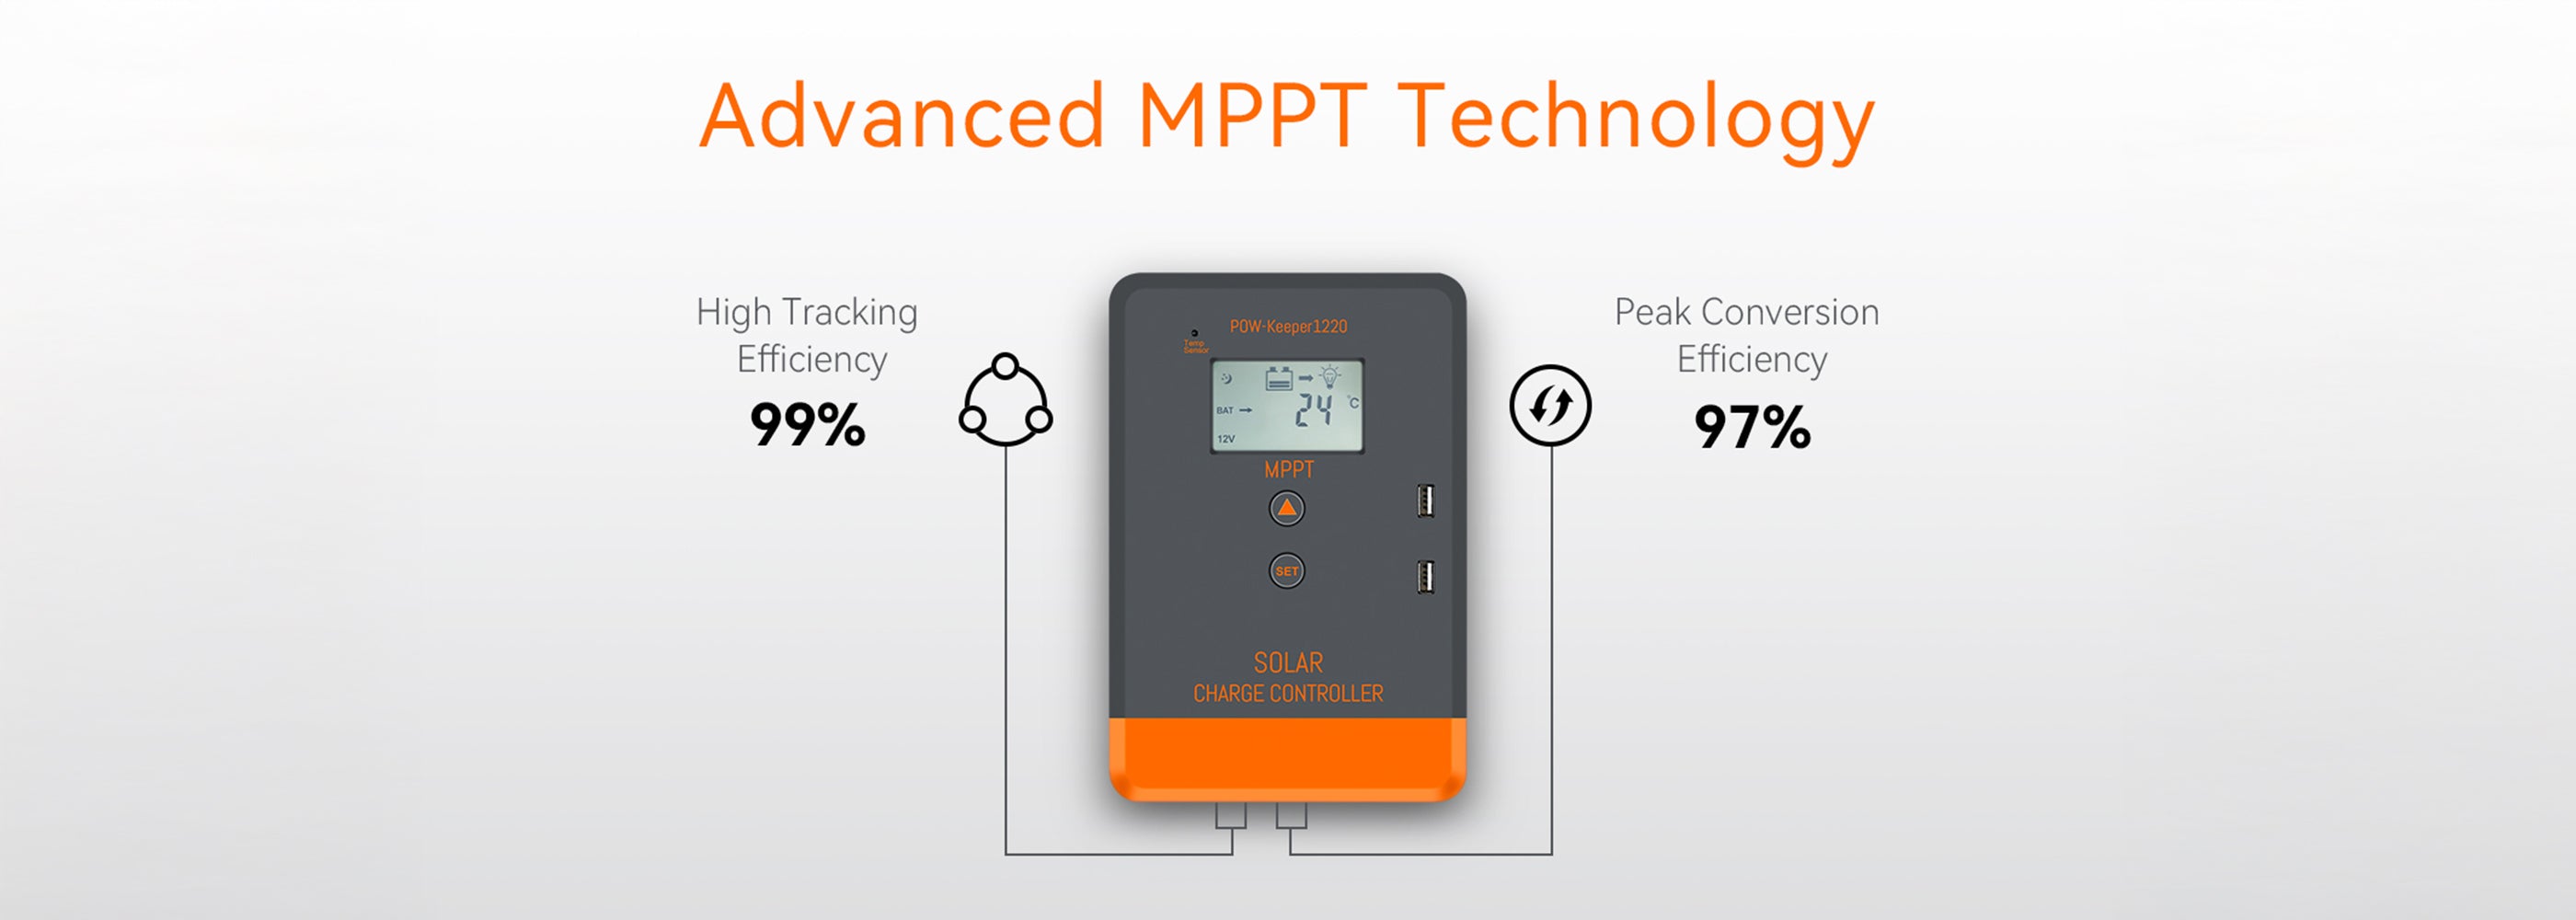
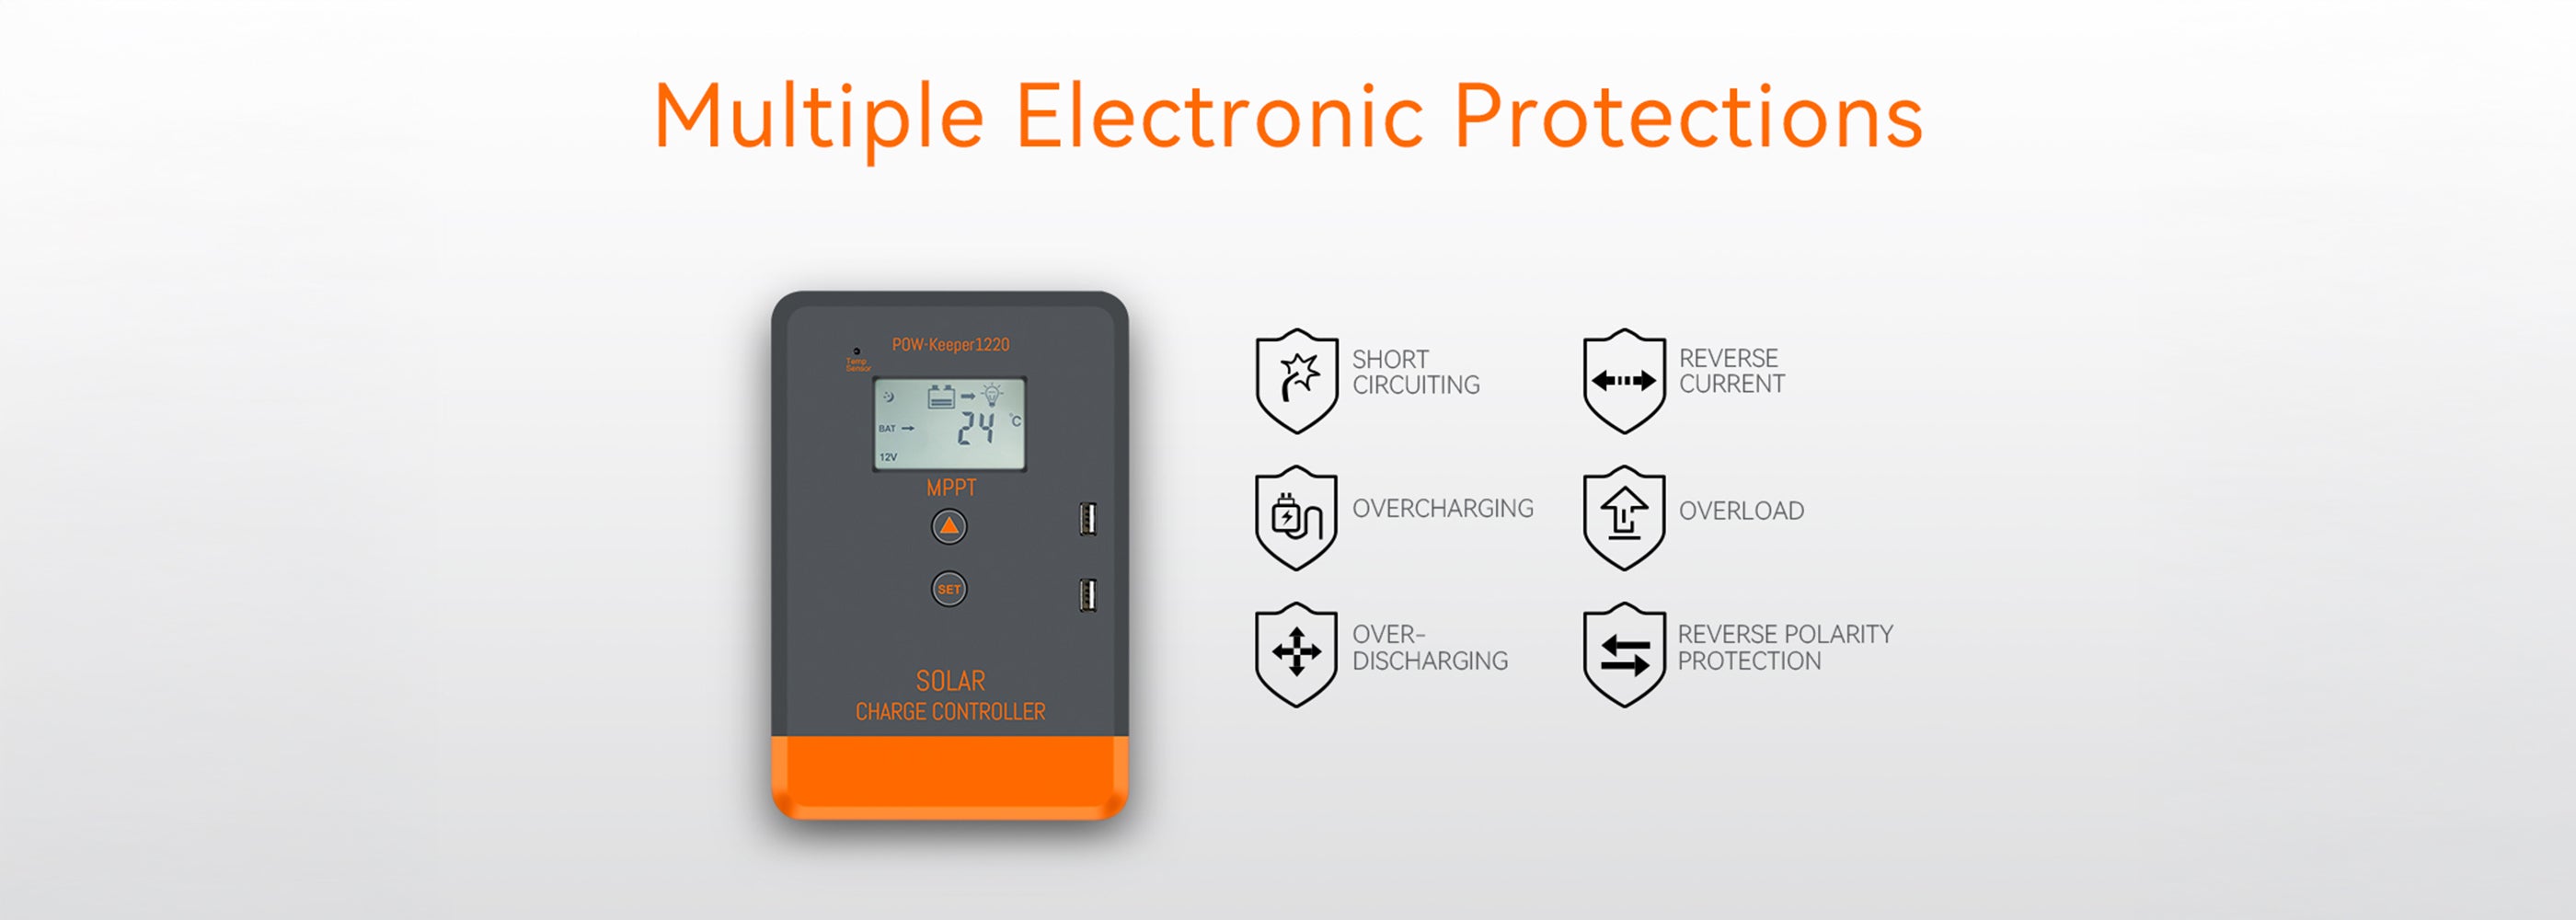
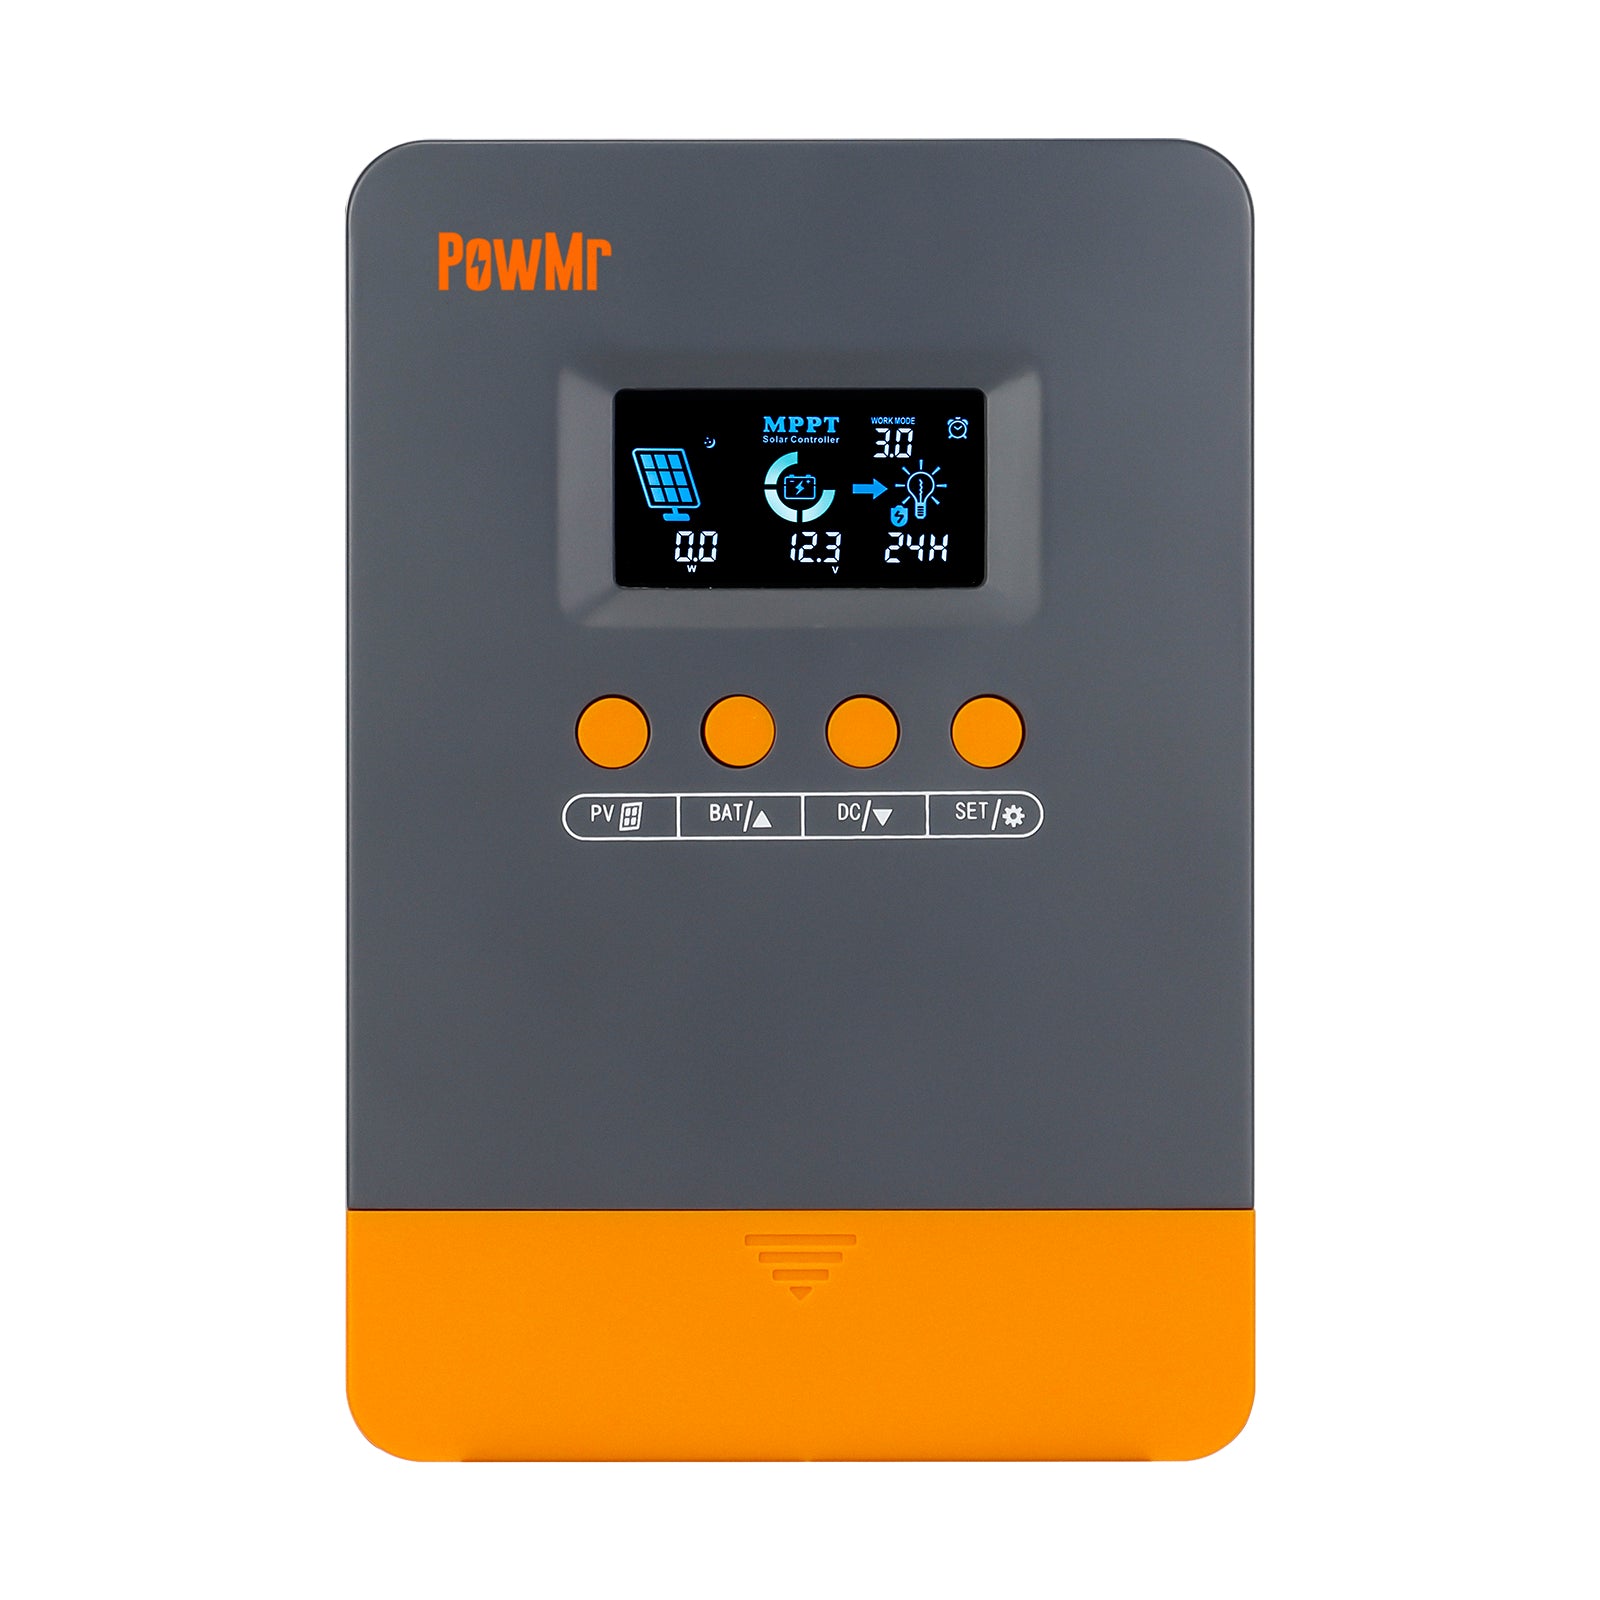
Advanced MPPT Tecnology
Automatic Voltage Identification

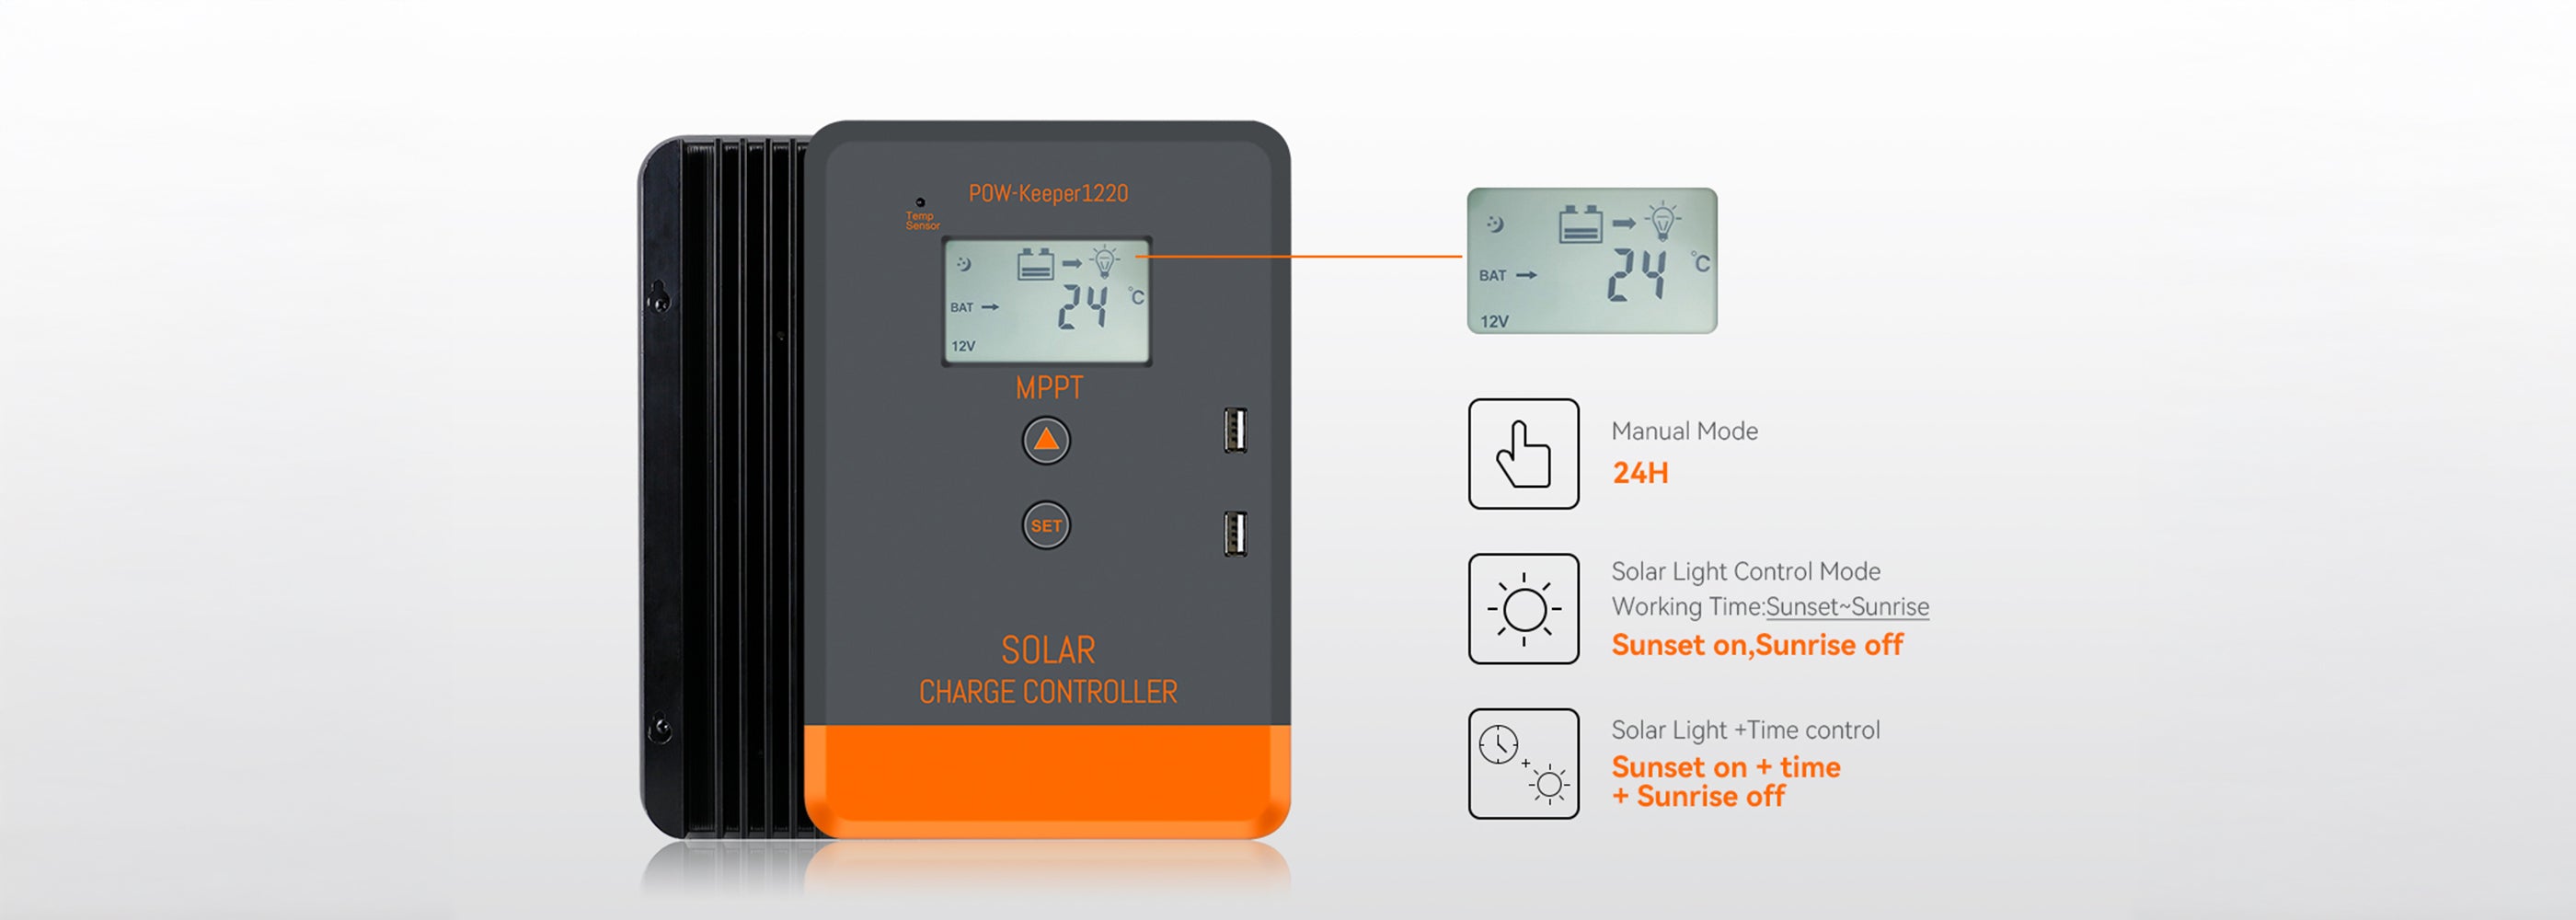
Enhanced Control and Monitoring
Comprehensive Protection and Precise Charging
Product comparison
12V/24V Auto 20A MPPT Solar Charge Controller
Sale price$39.00 USD
Regular price$66.00 USD
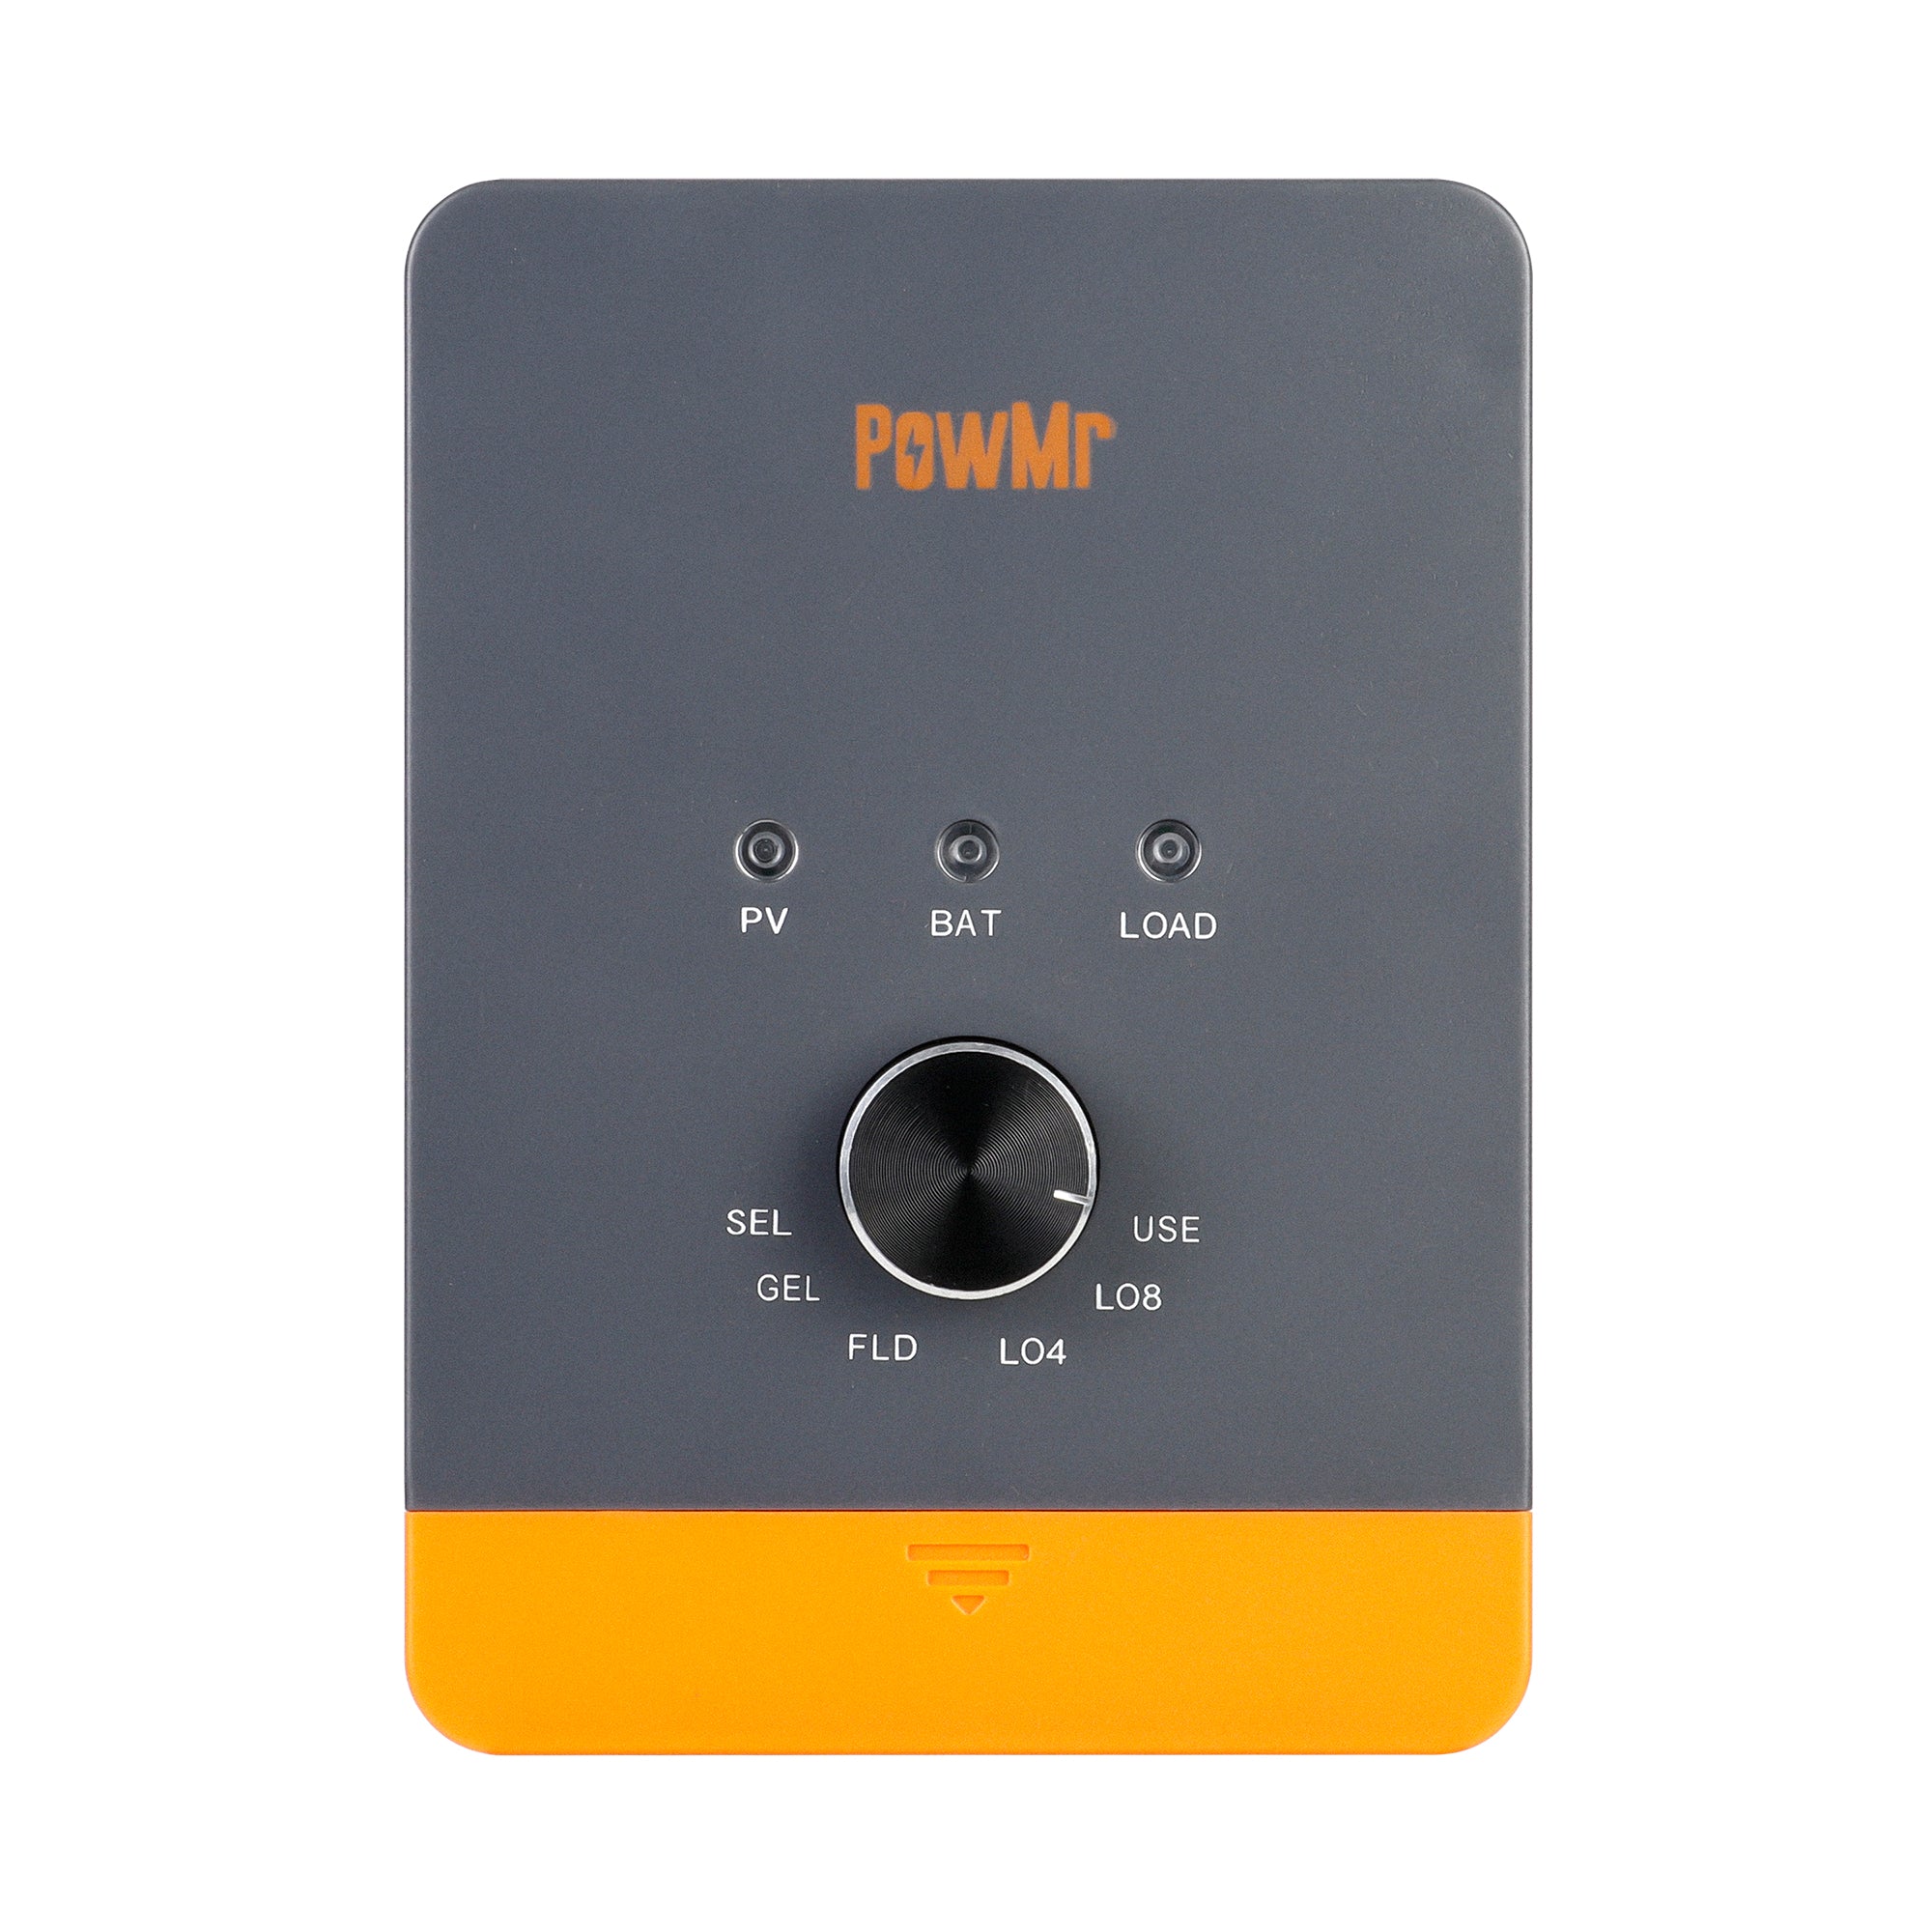
25A 12V 24V MPPT Rotary Knob Solar Charge Controller
Sale price$39.00 USD
Regular price$59.00 USD
25A 12V/24V MPPT Solar Charge Controller
Sale price$35.00 USD
Regular price$89.00 USD
Model
POW-Keeper1220
POW-RV1225A
POW-M25-PRO
Nominal System Voltage
12/24
12/24
12/24
Rated Charging Current
20
25
25
12V System
260/<60
300/<60
300/<60
24V System
520<60
600/<60
600/<60
Specifications
Nominal System Voltage (V)
12/24
Rated Charging Current (A)
20
12V System (W/V)
260/<60
24V System (W/V)
520<60