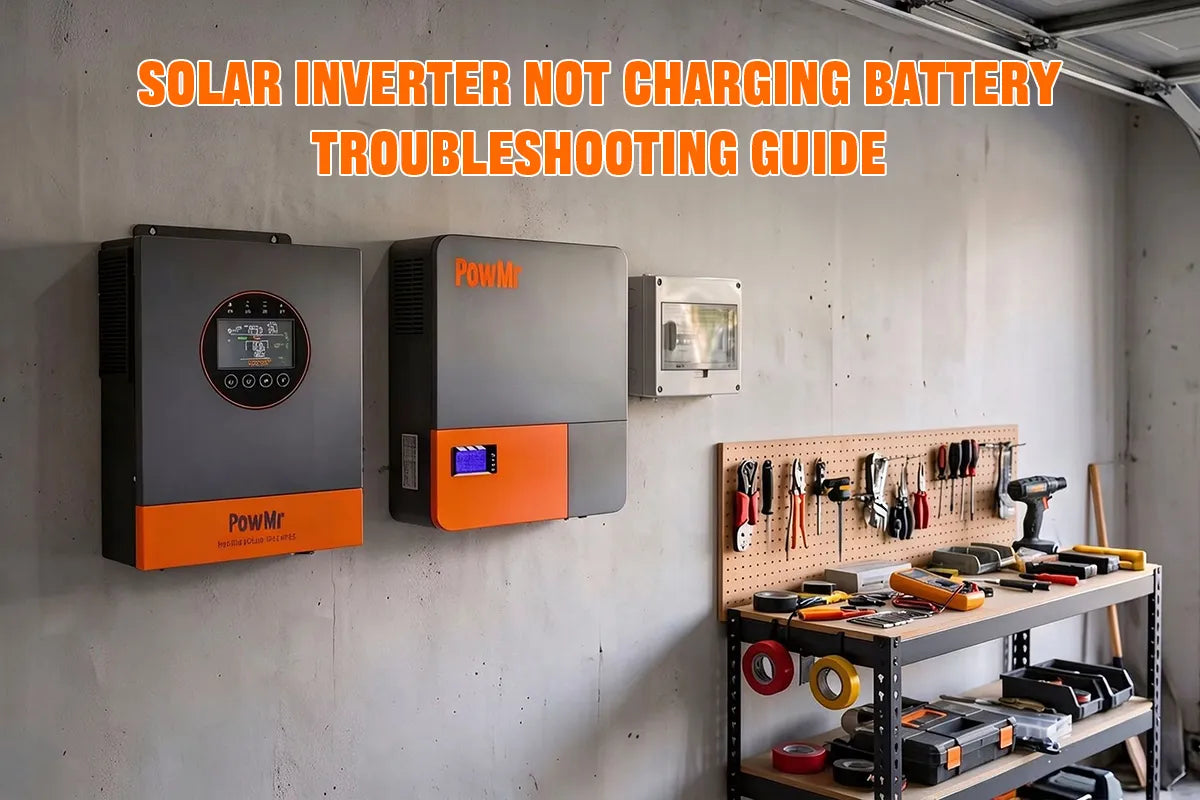
When your solar inverter is not charging the battery, the problem may be caused by low solar panel output, incorrect charging settings, low battery voltage, or wiring and compatibility issues.
This guide covers the common causes and troubleshooting steps to help you identify the problem and restore normal battery charging.
Common Reasons Why a Solar Inverter Is Not Charging the Battery
If your solar inverter is not charging the battery, several factors could be responsible, from low solar input to incorrect settings or battery issues.
Solar Panel Output Is Too Low
If the solar panels are not producing enough power, the inverter may show solar input but still fail to charge the battery. Low output is common in early morning, late afternoon, heavy cloud cover, heavy shading, dirt on the panels, or a damaged string.
Check the PV voltage and current on the inverter display and compare them with normal daytime values for your system.
Clean the solar panels if they are dirty, remove shading where possible, and verify that all PV connectors and string fuses are intact. Charging usually resumes once PV power is high enough to meet the inverter’s charging threshold.
Incorrect Inverter Charging Settings
Wrong charge parameters can stop charging even when the panels and battery are fine. Confirm that the battery type (lead-acid, gel, AGM, or LiFePO4), charge voltage, float voltage, and maximum charge current match the battery manufacturer’s specs.
If the bulk/absorption voltage is set too low, the solar inverter may stop early; if current limits or charge priority are wrong, solar power may go to loads instead of the battery. After changing settings, save/reboot if required, then watch whether charge current appears under good sunlight.
Battery Voltage Is Too Low
Many inverters will not start charging if battery voltage has fallen below a recovery or start threshold. A deeply discharged battery can look “dead” to the charger, especially after long cloudy periods or heavy overnight loads. Measure battery voltage with a meter and compare it with the inverter’s minimum battery voltage.
If battery voltage is too low, use a compatible external charger or a controlled recovery method recommended by the battery maker, then let the inverter take over once voltage is back in range. Do not force charge a damaged or swollen battery.
Battery BMS Protection Is Activated
On lithium batteries, the BMS (Battery Management System) may cut charge input for over-voltage, under-voltage, over-current, over-temperature, or cell imbalance. In that case the inverter may show a battery fault, zero charge current, or communication errors.
Check the battery app/screen for protection status, wait for temperature to normalize, and confirm the BMS communication cable (CAN/RS485) is connected if your system uses closed-loop control. Clear the protection only after the root cause is fixed; if the BMS trips again immediately, stop and inspect the battery pack.
Loose Wiring or Tripped Circuit Breakers
Loose DC terminals, oxidized lugs, blown fuses, or tripped PV/battery breakers can interrupt the charge path while the rest of the system still looks powered. Inspect PV input breakers, battery breakers, and DC fuses with the system safely powered down where needed.
Retighten battery and inverter terminals to the specified torque, look for heat discoloration or burnt smell, and replace any blown fuses with the correct rating. After restoring connections, re-energize and confirm that charge current returns.
Battery and Inverter Compatibility Issues
Not every solar inverter works with every battery. Voltage class mismatch (12V/24V/48V), unsupported lithium protocols, wrong charge profile, or missing BMS communication can prevent charging or cause repeated faults.
Confirm that your inverter’s battery voltage range matches the pack, that the selected battery mode is supported, and that firmware is reasonably up to date. For closed-loop lithium setups, use a brand/protocol combination listed as compatible. If the inverter only supports basic voltage charging, set voltages carefully and disable unsupported communication modes.
Inverter Faults or Overheating
Internal faults, derating from high temperature, failed charge circuitry, or blocked cooling can stop battery charging. Check the fault/error code on the display, feel for unusually hot heatsinks, and make sure fans and vents are clean with adequate clearance.
High ambient temperature, direct sun on the inverter, or dusty filters often reduce charge current or shut charging down for protection. Power-cycle only after noting the code; if the same fault returns, or the unit will not charge under good PV and correct settings, contact the manufacturer or a qualified installer for repair.
Take the PowMr POW-SunSmart 8KP as an example.
On a 48V lithium battery with BMS communication enabled, the inverter may stop charging the battery in these situations:
- The BMS cable is loose or disconnected
- The BMS protocol is not set to a supported option (such as PYLON or DYNESS)
- The battery has entered BMS protection mode (faults 58–64)
- Maximum allowed charge current is set to 0
- Battery charging mode is set to PV only, and PV power is insufficient
- PV voltage is below the MPPT start-up range (around 100–125V)
- Stop Charge SOC has already been reached
In these cases, the system may still look powered, but the CHARGE indicator will not flash.