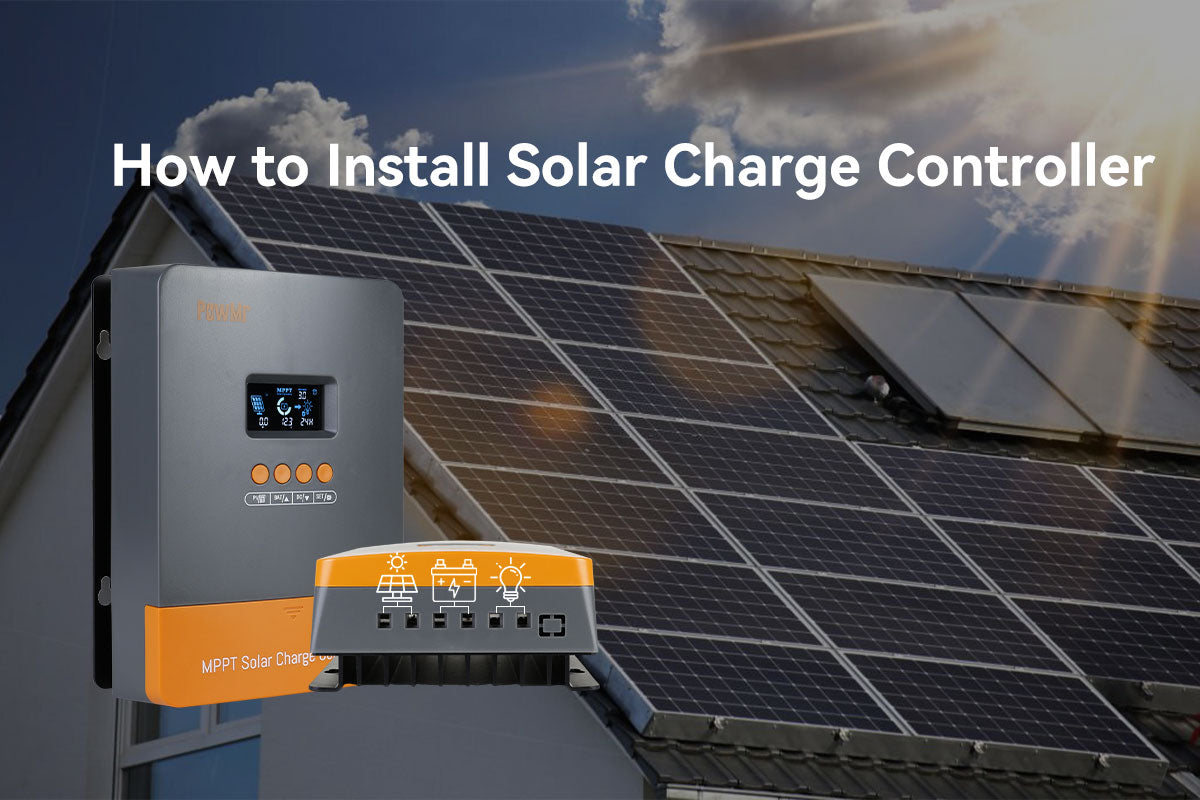
ในบทความก่อนหน้านี้ เราได้ให้ข้อมูลเกี่ยวกับการเลือกประเภทและขนาดที่เหมาะสมสำหรับตัวควบคุมการชาร์จพลังงานแสงอาทิตย์ ในคู่มือนี้ เราจะพาคุณผ่านขั้นตอนการติดตั้งตัวควบคุมการชาร์จพลังงานแสงอาทิตย์ ไม่ว่าจะเป็นในรถ RV หรือระบบพลังงานแสงอาทิตย์นอกกริดอื่น ๆ นอกจากนี้ เรายังครอบคลุมแนวทางสำคัญสำหรับการติดตั้งตัวควบคุมการชาร์จพลังงานแสงอาทิตย์และให้คำแนะนำเกี่ยวกับการเดินสายสำหรับตัวควบคุมการชาร์จพลังงานแสงอาทิตย์สองตัวขึ้นไปด้วย
- แนวทางก่อนการติดตั้งตัวควบคุมการชาร์จพลังงานแสงอาทิตย์
- ตำแหน่งสำหรับการติดตั้งตัวควบคุมการชาร์จพลังงานแสงอาทิตย์
- การเตรียมวัสดุและเครื่องมือ
- ลำดับการเดินสายตัวควบคุมการชาร์จพลังงานแสงอาทิตย์
- ขั้นตอนการติดตั้งตัวควบคุมการชาร์จพลังงานแสงอาทิตย์
- วิธีการเดินสายตัวควบคุมการชาร์จโซลาร์เซลล์สองตัวกับแบตเตอรี่แบงค์เดียว
แนวทางก่อนการติดตั้งตัวควบคุมการชาร์จพลังงานแสงอาทิตย์
ก่อนเริ่มการติดตั้งตัวควบคุมการชาร์จพลังงานแสงอาทิตย์ ควรวางแผนอย่างชัดเจน นี่คือแนวทางก่อนการติดตั้งที่ควรพิจารณา
ตำแหน่งสำหรับการติดตั้งตัวควบคุมการชาร์จพลังงานแสงอาทิตย์
ก่อนการติดตั้ง จำเป็นต้องพิจารณาด้านต่อไปนี้เพื่อระบุและกำหนดสถานที่ติดตั้งที่เหมาะสมและปลอดภัย
- ติดตั้งตัวควบคุมในพื้นที่ที่มีการระบายอากาศ/ระบายควันธรรมชาติที่ดี
- รักษาระยะห่างที่เพียงพอรอบตัวควบคุม ให้แน่ใจว่ามีพื้นที่ระหว่างผนังและตัวควบคุม (ไม่น้อยกว่าระยะห่างขั้นต่ำที่ระบุในคู่มือ เนื่องจากรุ่นผลิตภัณฑ์ต่างกันอาจมีข้อกำหนดแตกต่างกัน) เพื่อช่วยในการระบายความร้อนและการเชื่อมต่อสายไฟ
- ติดตั้งตัวควบคุมบนผนังที่ไม่ติดไฟ และตรวจสอบว่าไม่มีวัสดุไวไฟใกล้เคียง เป็นเรื่องปกติที่ตัวควบคุมจะมีอุณหภูมิสูงขึ้นขณะใช้งาน
- เลือกสภาพแวดล้อมการติดตั้งที่หลีกเลี่ยงแสงแดดโดยตรง ฝน ความชื้น และฝุ่น เก็บตัวควบคุมให้ห่างจากแหล่งของเหลวหรือก๊าซไวไฟ เว้นแต่จะเป็นตัวควบคุมการชาร์จพลังงานแสงอาทิตย์ที่กันน้ำ
- อย่าติดตั้งหรือวาง/ใช้งานตัวควบคุมบนหรือโดยตรงเหนือแบตเตอรี่ หรือในพื้นที่จำกัดที่มีแบตเตอรี่ แบตเตอรี่อาจปล่อยก๊าซที่ระเบิดได้
การเตรียมวัสดุและเครื่องมือ
ตัวควบคุมการชาร์จพลังงานแสงอาทิตย์ มักจะ มาพร้อมวัสดุที่จำเป็น สำหรับการติดตั้ง ตรวจสอบให้แน่ใจว่าสิ่งของต่อไปนี้เตรียมพร้อมอย่างครบถ้วนเพื่อการติดตั้งและเดินสายตัวควบคุมอย่างราบรื่น
รายการวัสดุติดตั้งตัวควบคุมการชาร์จพลังงานแสงอาทิตย์:
- ตัวควบคุมการชาร์จพลังงานแสงอาทิตย์
- สายไฟ DC สามเส้นสำหรับเชื่อมต่อขั้ว บวก ของตัวควบคุม (+) กับขั้วบวกของการแจกจ่าย DC
- สายไฟ DC สามเส้นสำหรับเชื่อมต่อขั้ว ลบ ของตัวควบคุม (-) กับขั้วบวกของการแจกจ่าย DC
- เบรกเกอร์กระแสตรงสามตัวที่เข้ากันได้กับรุ่นของตัวควบคุม
- สกรูสำหรับยึดติดผนังที่ออกแบบมาเพื่อรองรับน้ำหนักของตัวควบคุม
ตรวจสอบให้แน่ใจว่าคุณเตรียมวัสดุข้างต้นตามข้อกำหนดและแนวทางที่ถูกต้อง
ลำดับการเดินสายตัวควบคุมการชาร์จพลังงานแสงอาทิตย์
การกำหนดลำดับการเชื่อมต่อที่ชัดเจนช่วยให้การติดตั้งมีประสิทธิภาพและปลอดภัย
ให้เชื่อมต่อสายขั้วแบตเตอรี่กับตัวควบคุมการชาร์จก่อนเป็นอันดับแรก จากนั้นจึงเชื่อมต่อแผงโซลาร์เซลล์กับตัวควบคุมการชาร์จ หลีกเลี่ยงการเชื่อมต่อแผงโซลาร์เซลล์กับตัวควบคุมก่อนแบตเตอรี่ กลับลำดับ นี้เมื่อ ถอดการเชื่อมต่อ
วิธีติดตั้งตัวควบคุมการชาร์จพลังงานแสงอาทิตย์
ส่วนนี้ให้ข้อมูลอ้างอิงคร่าวๆ สำหรับการติดตั้งตัวควบคุมการชาร์จพลังงานแสงอาทิตย์แบบ MPPT/PWM โดยใช้ ตัวควบคุมการชาร์จพลังงานแสงอาทิตย์ POW-M60-PRO 60a MPPT เป็นตัวอย่างประกอบ สำหรับรายละเอียดเฉพาะ โปรดดูคู่มือผู้ใช้ของตัวควบคุมแต่ละรุ่น
หมายเหตุ:
ห้ามปิดเบรกเกอร์วงจรตลอดกระบวนการติดตั้ง
ขั้นตอนที่ 1 ติดตั้งตัวควบคุมการชาร์จพลังงานแสงอาทิตย์
ทำเครื่องหมายจุดติดตั้งบนผนังตามรูยึดของตัวควบคุม จากนั้นใช้สว่านเจาะรูติดตั้งบนผนังที่จุดที่ทำเครื่องหมายไว้ และใส่ปลั๊กยางขยายเข้าไปในรู ติดตั้งตัวควบคุม ในแนวตั้งกับพื้น โดยให้ขั้วต่อหันลงด้านล่าง
ขั้นตอนที่ 2 เชื่อมต่อแบตเตอรี่กับตัวควบคุมการชาร์จพลังงานแสงอาทิตย์ก่อน
เชื่อมต่อแบตเตอรี่ก่อนเสมอ เพื่อให้ตัวควบคุมรับรู้แรงดันไฟฟ้าของระบบ อย่าเปลี่ยนลำดับการเชื่อมต่อโดยพลการ เพราะอาจทำให้เกิดข้อผิดพลาดในการรับรู้แรงดันไฟฟ้าของระบบ รักษาความยาวสายระหว่างแบตเตอรี่กับตัวควบคุมให้ สั้นที่สุดเท่าที่จะเป็นไปได้ โดยควรอยู่ระหว่าง 30 ซม. ถึง 100 ซม.
เพื่อป้องกันการลัดวงจรและการกลับขั้ว ให้แน่ใจว่าสายบวก (+) จากแบตเตอรี่เชื่อมต่อกับขั้วบวก (+) ที่สอดคล้องกันบนตัวควบคุม และสายลบ (-) จากแบตเตอรี่เชื่อมต่อกับขั้วลบ (-) ที่สอดคล้องกันบนอุปกรณ์
หากแบตเตอรี่เชื่อมต่อ กลับขั้ว เอาต์พุตของตัวควบคุมจะมีขั้วไฟฟ้าเหมือนกับแบตเตอรี่ ห้ามเชื่อมต่อโหลดใดๆ ในช่วงเวลานี้ เพราะอาจทำให้โหลดและตัวควบคุมเสียหาย ระมัดระวังหากตัวควบคุมไม่มีระบบป้องกันโหลดกลับขั้ว
ขั้นตอนที่ 3 เชื่อมต่อโหลด DC และตัวควบคุมการชาร์จโซลาร์เซลล์
ต่อสายบวก (+) ของโหลด DC เข้ากับขั้วบวก (+) ที่กำหนดไว้สำหรับโหลดบนตัวควบคุมการชาร์จ และเชื่อมต่อสายลบ (-) ของโหลด DC เข้ากับขั้วลบ (-) ที่กำหนดไว้สำหรับโหลดบนตัวควบคุมการชาร์จ
ขั้นตอนที่ 4 เชื่อมต่อแผงโซลาร์เซลล์กับตัวควบคุมการชาร์จโซลาร์เซลล์
เชื่อมต่อสายบวกจากแผงโซลาร์เซลล์กับขั้วบวกที่สอดคล้องกันบนตัวควบคุม และเชื่อมต่อสายลบกับขั้วลบ การใส่ใจเรื่องขั้วไฟฟ้าเป็นสิ่งสำคัญเพื่อป้องกันความเสียหายที่อาจเกิดขึ้นกับระบบ
ขั้นตอนที่ 5 เชื่อมต่ออินเวอร์เตอร์โซลาร์เซลล์กับตัวควบคุมการชาร์จโซลาร์เซลล์
หากคุณต้องการติดตั้งอินเวอร์เตอร์ ดูแผนภาพการใช้งานระบบของตัวควบคุมด้านล่าง ห้ามเชื่อมต่ออินเวอร์เตอร์กับด้านโหลด ของตัวควบคุมการชาร์จโซลาร์เซลล์ มิฉะนั้นอาจทำให้อุปกรณ์เสียหายอย่างถาวร

ขั้นตอนที่ 6 ตรวจสอบก่อนเริ่มใช้งาน
ดูรูปตามที่แสดงด้านล่างสำหรับรายละเอียดการเดินสายไฟ หากทุกอย่างถูกต้องและสายไฟทั้งหมดเชื่อมต่อแน่นหนา ให้ปิดเบรกเกอร์ที่ด้านแบตเตอรี่ ด้านโมดูลโซลาร์เซลล์ และด้านโหลดตามลำดับเพื่อเริ่มต้นตัวควบคุม
ขั้นตอนที่ 7 เปิดและตั้งค่าตัวควบคุมการชาร์จโซลาร์เซลล์
หลังจากเชื่อมต่อทุกอย่างอย่างแน่นหนาแล้ว คุณสามารถเปิดตัวควบคุมการชาร์จโซลาร์เซลล์ได้ ตัวควบคุมการชาร์จโซลาร์เซลล์ส่วนใหญ่มีไฟ LED แสดงสถานะระบบ ตรวจสอบไฟเหล่านี้เพื่อให้แน่ใจว่าทุกอย่างทำงานถูกต้อง
เข้าถึงการตั้งค่าของตัวควบคุมการชาร์จและกำหนดค่าตามสเปคของระบบของคุณ ทดสอบระบบโดยสังเกตกระบวนการชาร์จแบตเตอรี่ การกระจายโหลด และประสิทธิภาพโดยรวม
วิธีการเดินสายตัวควบคุมการชาร์จโซลาร์เซลล์สองตัวกับแบตเตอรี่แบงค์เดียว
คุณอาจจำเป็นต้องใช้ตัวควบคุมสองตัวขึ้นไปในระบบเนื่องจากสถานการณ์ดังต่อไปนี้:คุณอาจจำเป็นต้องใช้ตัวควบคุมสองตัวขึ้นไปในระบบเนื่องจากสถานการณ์ดังต่อไปนี้:
- ขยายระบบพลังงานแสงอาทิตย์โดยเพิ่มชุดแผงโซลาร์เซลล์และแบตเตอรี่เพิ่มเติม
- เมื่อคุณมีแผงโซลาร์เซลล์ที่มีสเปคแตกต่างกัน การรวมแผงเหล่านี้เข้าด้วยกันอาจไม่ให้ประสิทธิภาพที่ดีที่สุด โชคดีที่การใช้ตัวควบคุมการชาร์จหลายตัวสามารถแก้ไขปัญหานี้ได้
- ติดตั้งแผงโซลาร์เซลล์ในตำแหน่งที่มีระดับแสงแดดแตกต่างกัน ส่งผลให้ประสิทธิภาพของชุดแผงแตกต่างกัน การกำหนดตัวควบคุมแยกสำหรับแต่ละชุดช่วยเพิ่มผลผลิตพลังงานโดยรวมของระบบ
ขั้นตอนที่ 1 เชื่อมต่อตัวควบคุมการชาร์จโซลาร์เซลล์กับตัวควบคุมการชาร์จโซลาร์เซลล์
กำหนดสเปคของตัวควบคุมและแผงโซลาร์เซลล์ จากนั้นเชื่อมต่อแผงโซลาร์เซลล์ในชุด (ไม่ว่าจะเป็นแบบอนุกรมหรือแบบขนาน) กับตัวควบคุมการชาร์จเสมอ ซึ่งขึ้นอยู่กับสเปคของตัวควบคุมการชาร์จโซลาร์เซลล์ของคุณ รวมถึงแรงดันและกระแสเอาต์พุตของแผง
ขั้นตอนที่ 2 เชื่อมต่อตัวควบคุมการชาร์จโซลาร์เซลล์แบบขนาน
ไม่ว่าจะใช้ตัวควบคุมกี่ตัวก็ตาม ในขณะที่ต้องแน่ใจว่าผลรวมของกระแสจากแต่ละชุดที่ส่งไปยังแบตเตอรี่แบงค์ ไม่เกิน กระแสชาร์จที่ระบุของแบตเตอรี่ ให้ทำตามแผนภาพด้านล่างเพื่อเชื่อมต่อตัวควบคุมสองตัวแล้วเชื่อมต่อกับแบตเตอรี่แบงค์
หมายเหตุ:
เชื่อมต่อเอาต์พุตของตัวควบคุมการชาร์จสองตัวแบบขนานกับแบตเตอรี่แบงค์เพื่อรักษาแรงดันไฟฟ้ารวมที่ส่งออก ตัวควบคุมแต่ละตัวควรเชื่อมต่อกับแผงโซลาร์เซลล์ชุดที่แตกต่างกัน ขั้นตอนนี้สามารถทำซ้ำได้กับตัวควบคุมจำนวนเท่าใดก็ได้ตามความจำเป็น